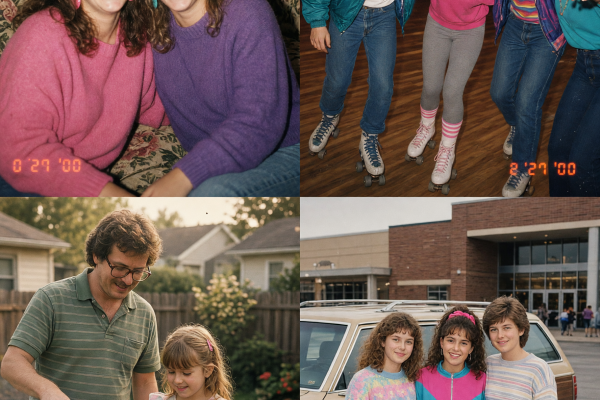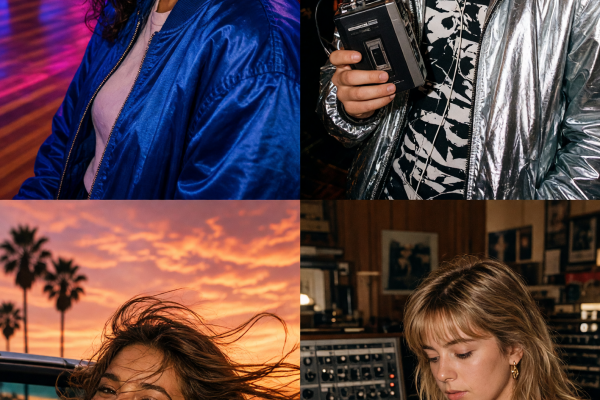
90s photo effect edits work best when they feel like a quick find from a bedroom drawer, not a costume shoot. Think direct flash, uneven color, a little blur, and details that place the photo somewhere between a mall trip and a late-night hangout. The goal is a snapshot with a point of view.
These two disposable-camera looks use the same idea in different settings. One stays close and personal. The other gets outside, where faded light and a slightly messy background do half the work. Start with a clear portrait, then add only the details that sell the moment.
90s photo effect looks at a glance
- Bedroom flash photo for intimate portraits, birthday posts, and nostalgic selfies.
- Street-style snapshot for outfit shots, friend photos, and carousel covers.
- Production tips to keep the edit from looking too clean.
1. The bedroom flash photo
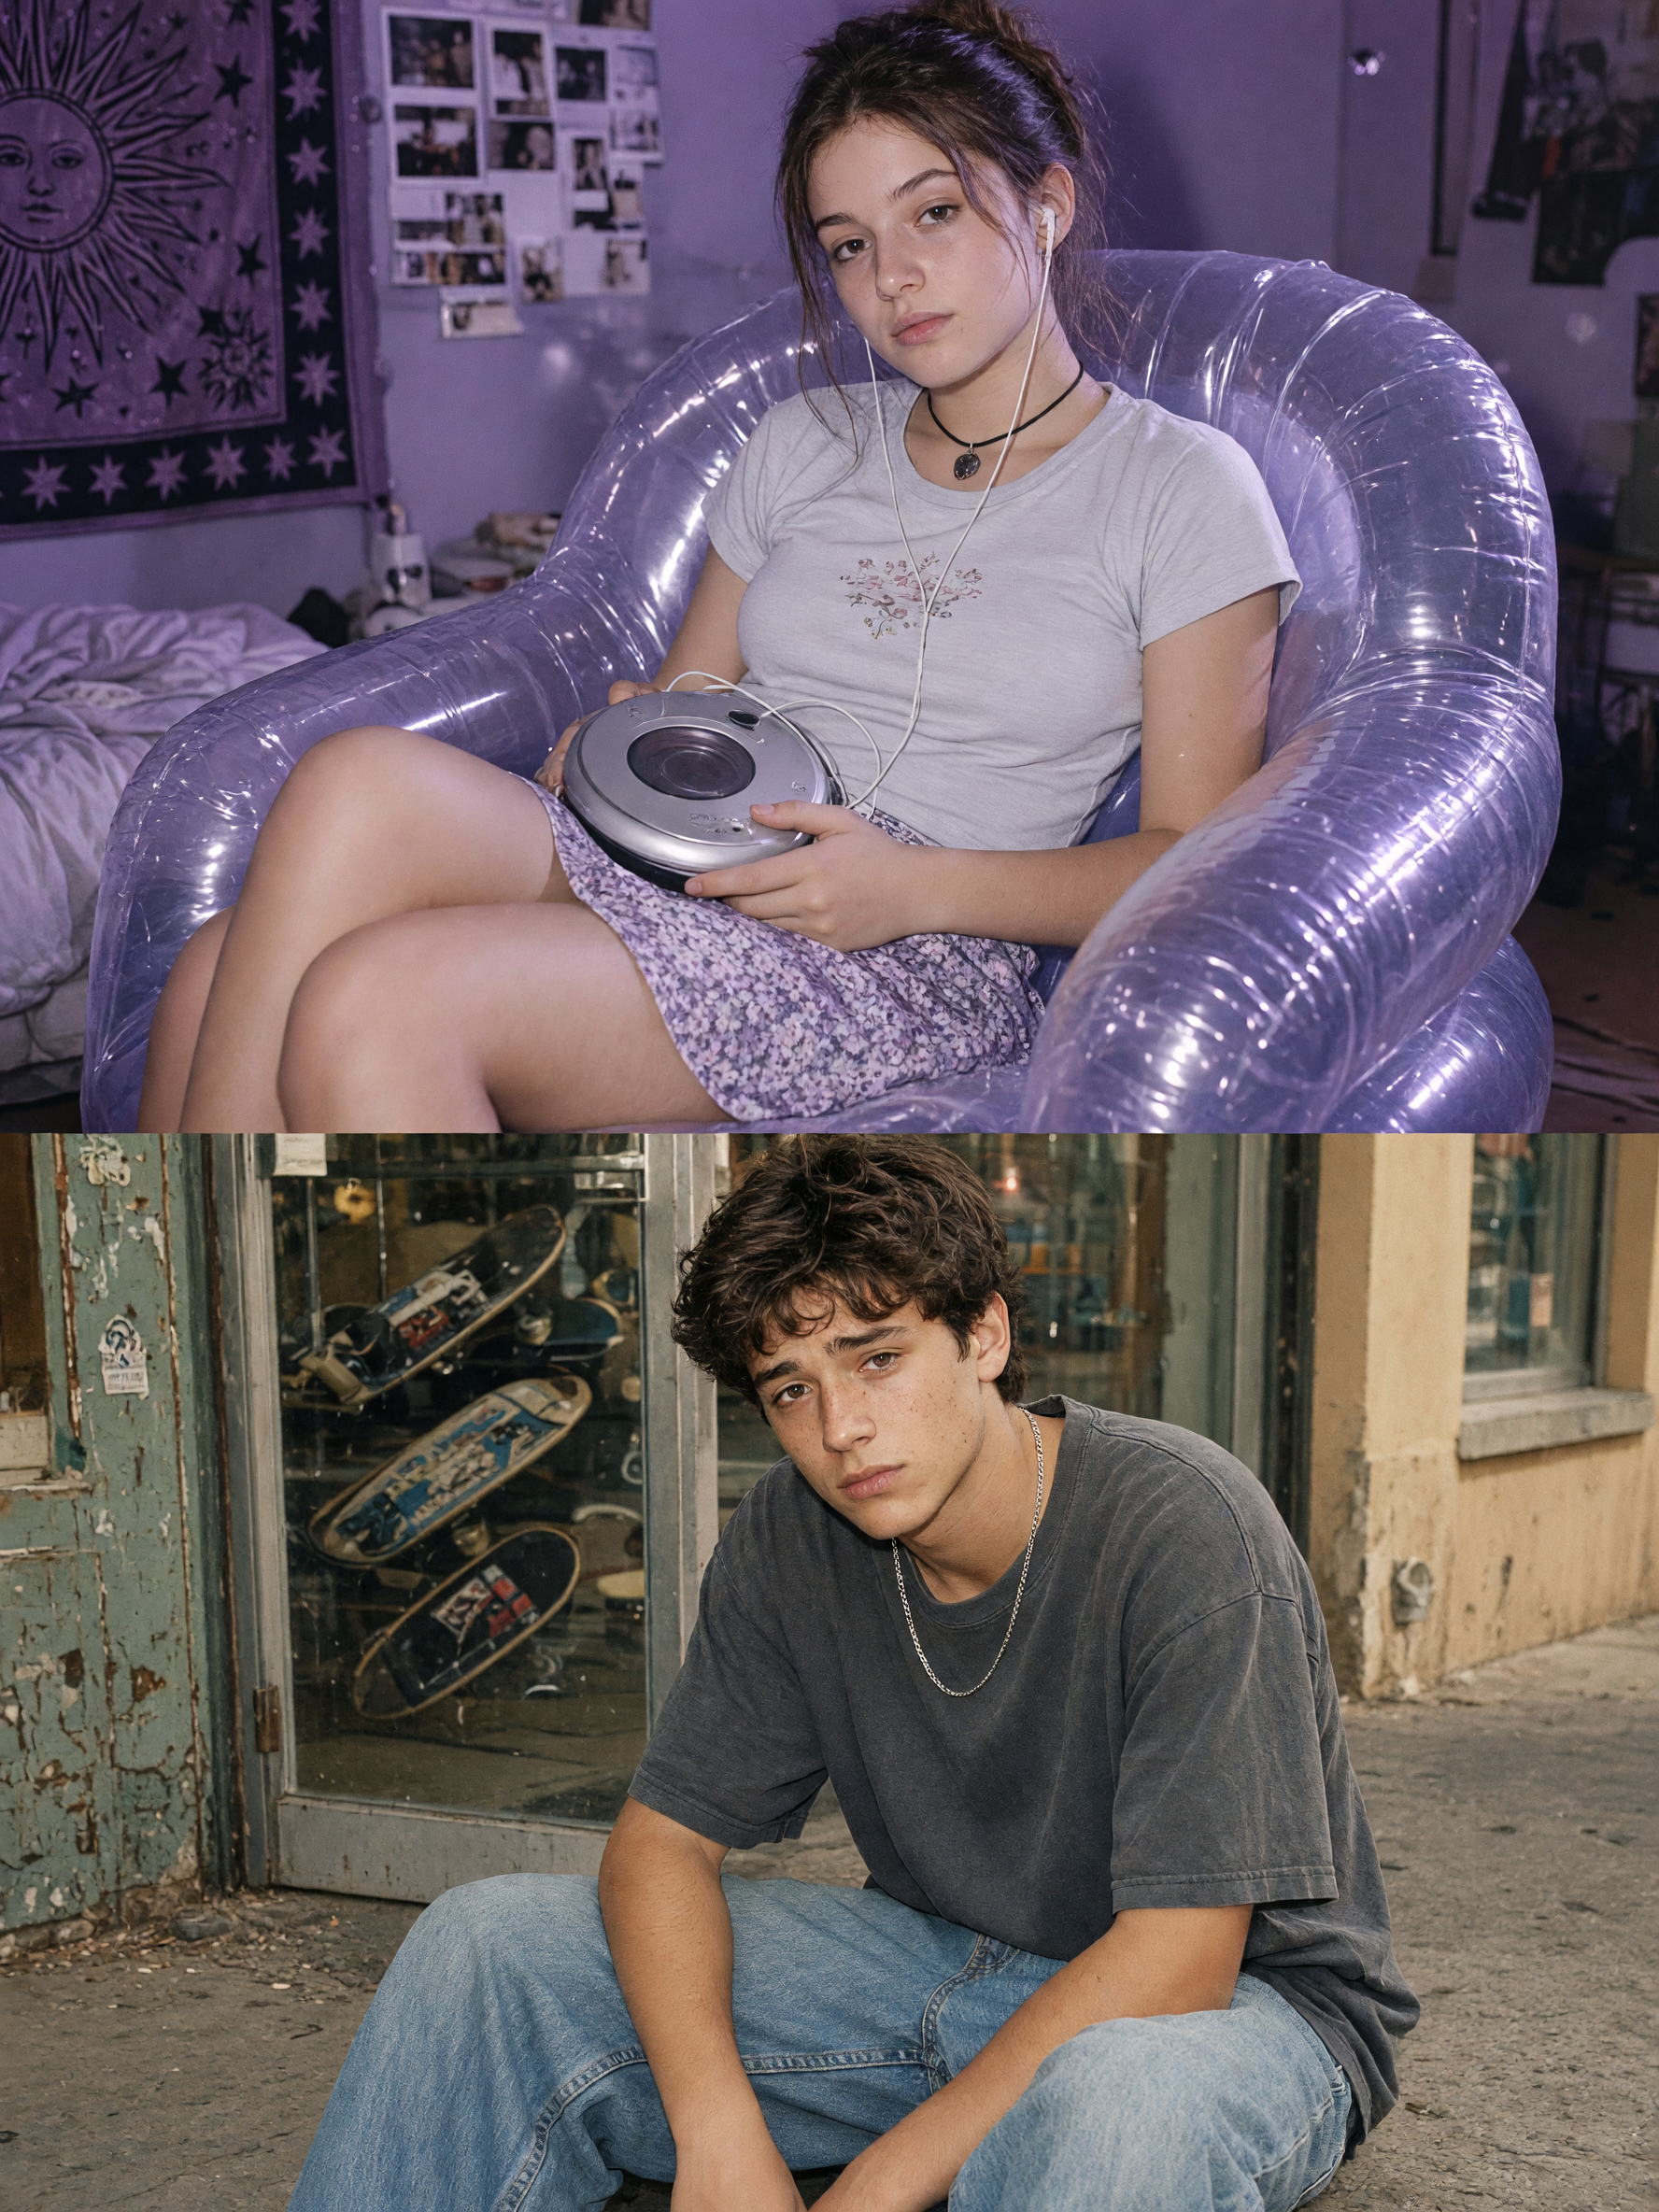
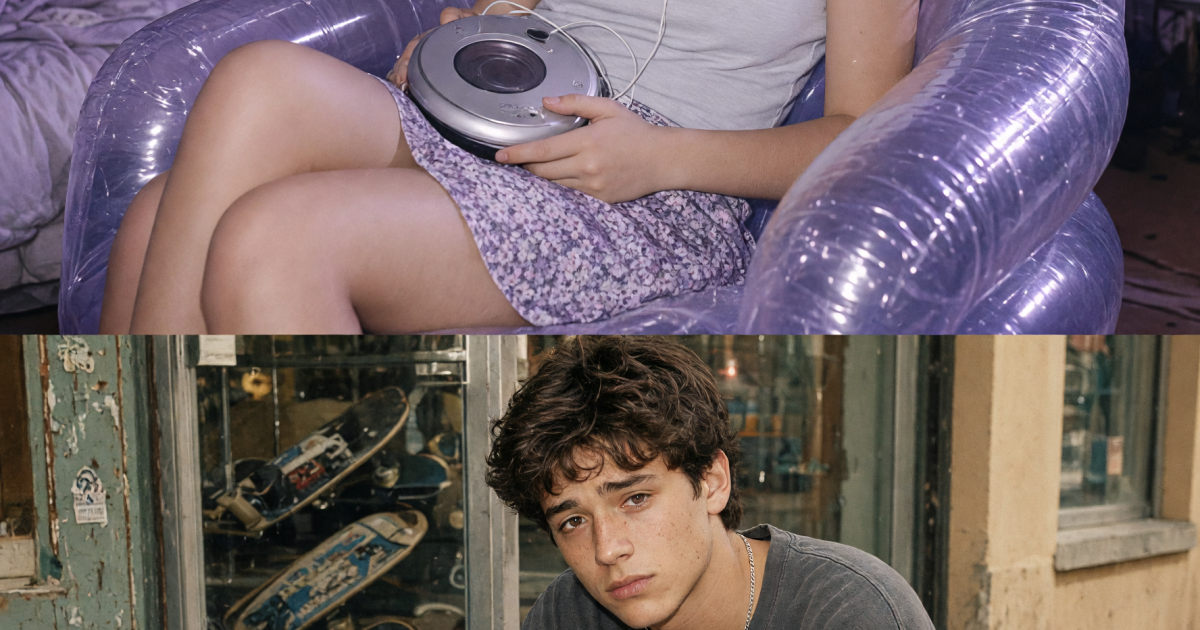
This look borrows the feeling of a photo taken before a sleepover, not a magazine spread. Put the subject near the camera and keep enough of the room in frame to tell a story. A CD player, wired headphones, a poster edge, a translucent chair, or a pile of magazines can do more than a full set.
How to build the scene
- Choose a close portrait with the face unobstructed. A slight turn of the shoulders looks more natural than a posed front-facing shot.
- Use a small room or corner with one recognizable 90s detail. Avoid filling every surface with props.
- Ask for direct on-camera flash, soft falloff behind the subject, mild grain, and slightly faded color.
- Keep one imperfect detail: a loose strand of hair, a tilted poster, or a hand partly entering the frame.
Try this prompt: Close bedroom portrait with a disposable camera flash, lavender walls, silver CD player, translucent chair, candy-colored bedding, soft film grain, slightly faded 1990s print colors, candid expression, vertical photo.
For a more personal version, replace the room details with objects that match the person in the photo. A guitar pick, sticker-covered notebook, old game controller, or stack of music magazines keeps the image from feeling like a generic nostalgia board. For Stories and Reels covers, leave a little empty wall space above the head for text.
Where this look works
The bedroom flash photo fits birthday carousels, best-friend posts, artist announcements, and before-and-after edits. It also works for a profile photo when the original has a strong face crop. Skip heavy smoothing. Real disposable photos have texture, and skin that looks too airbrushed breaks the illusion fast.
2. The street-style snapshot
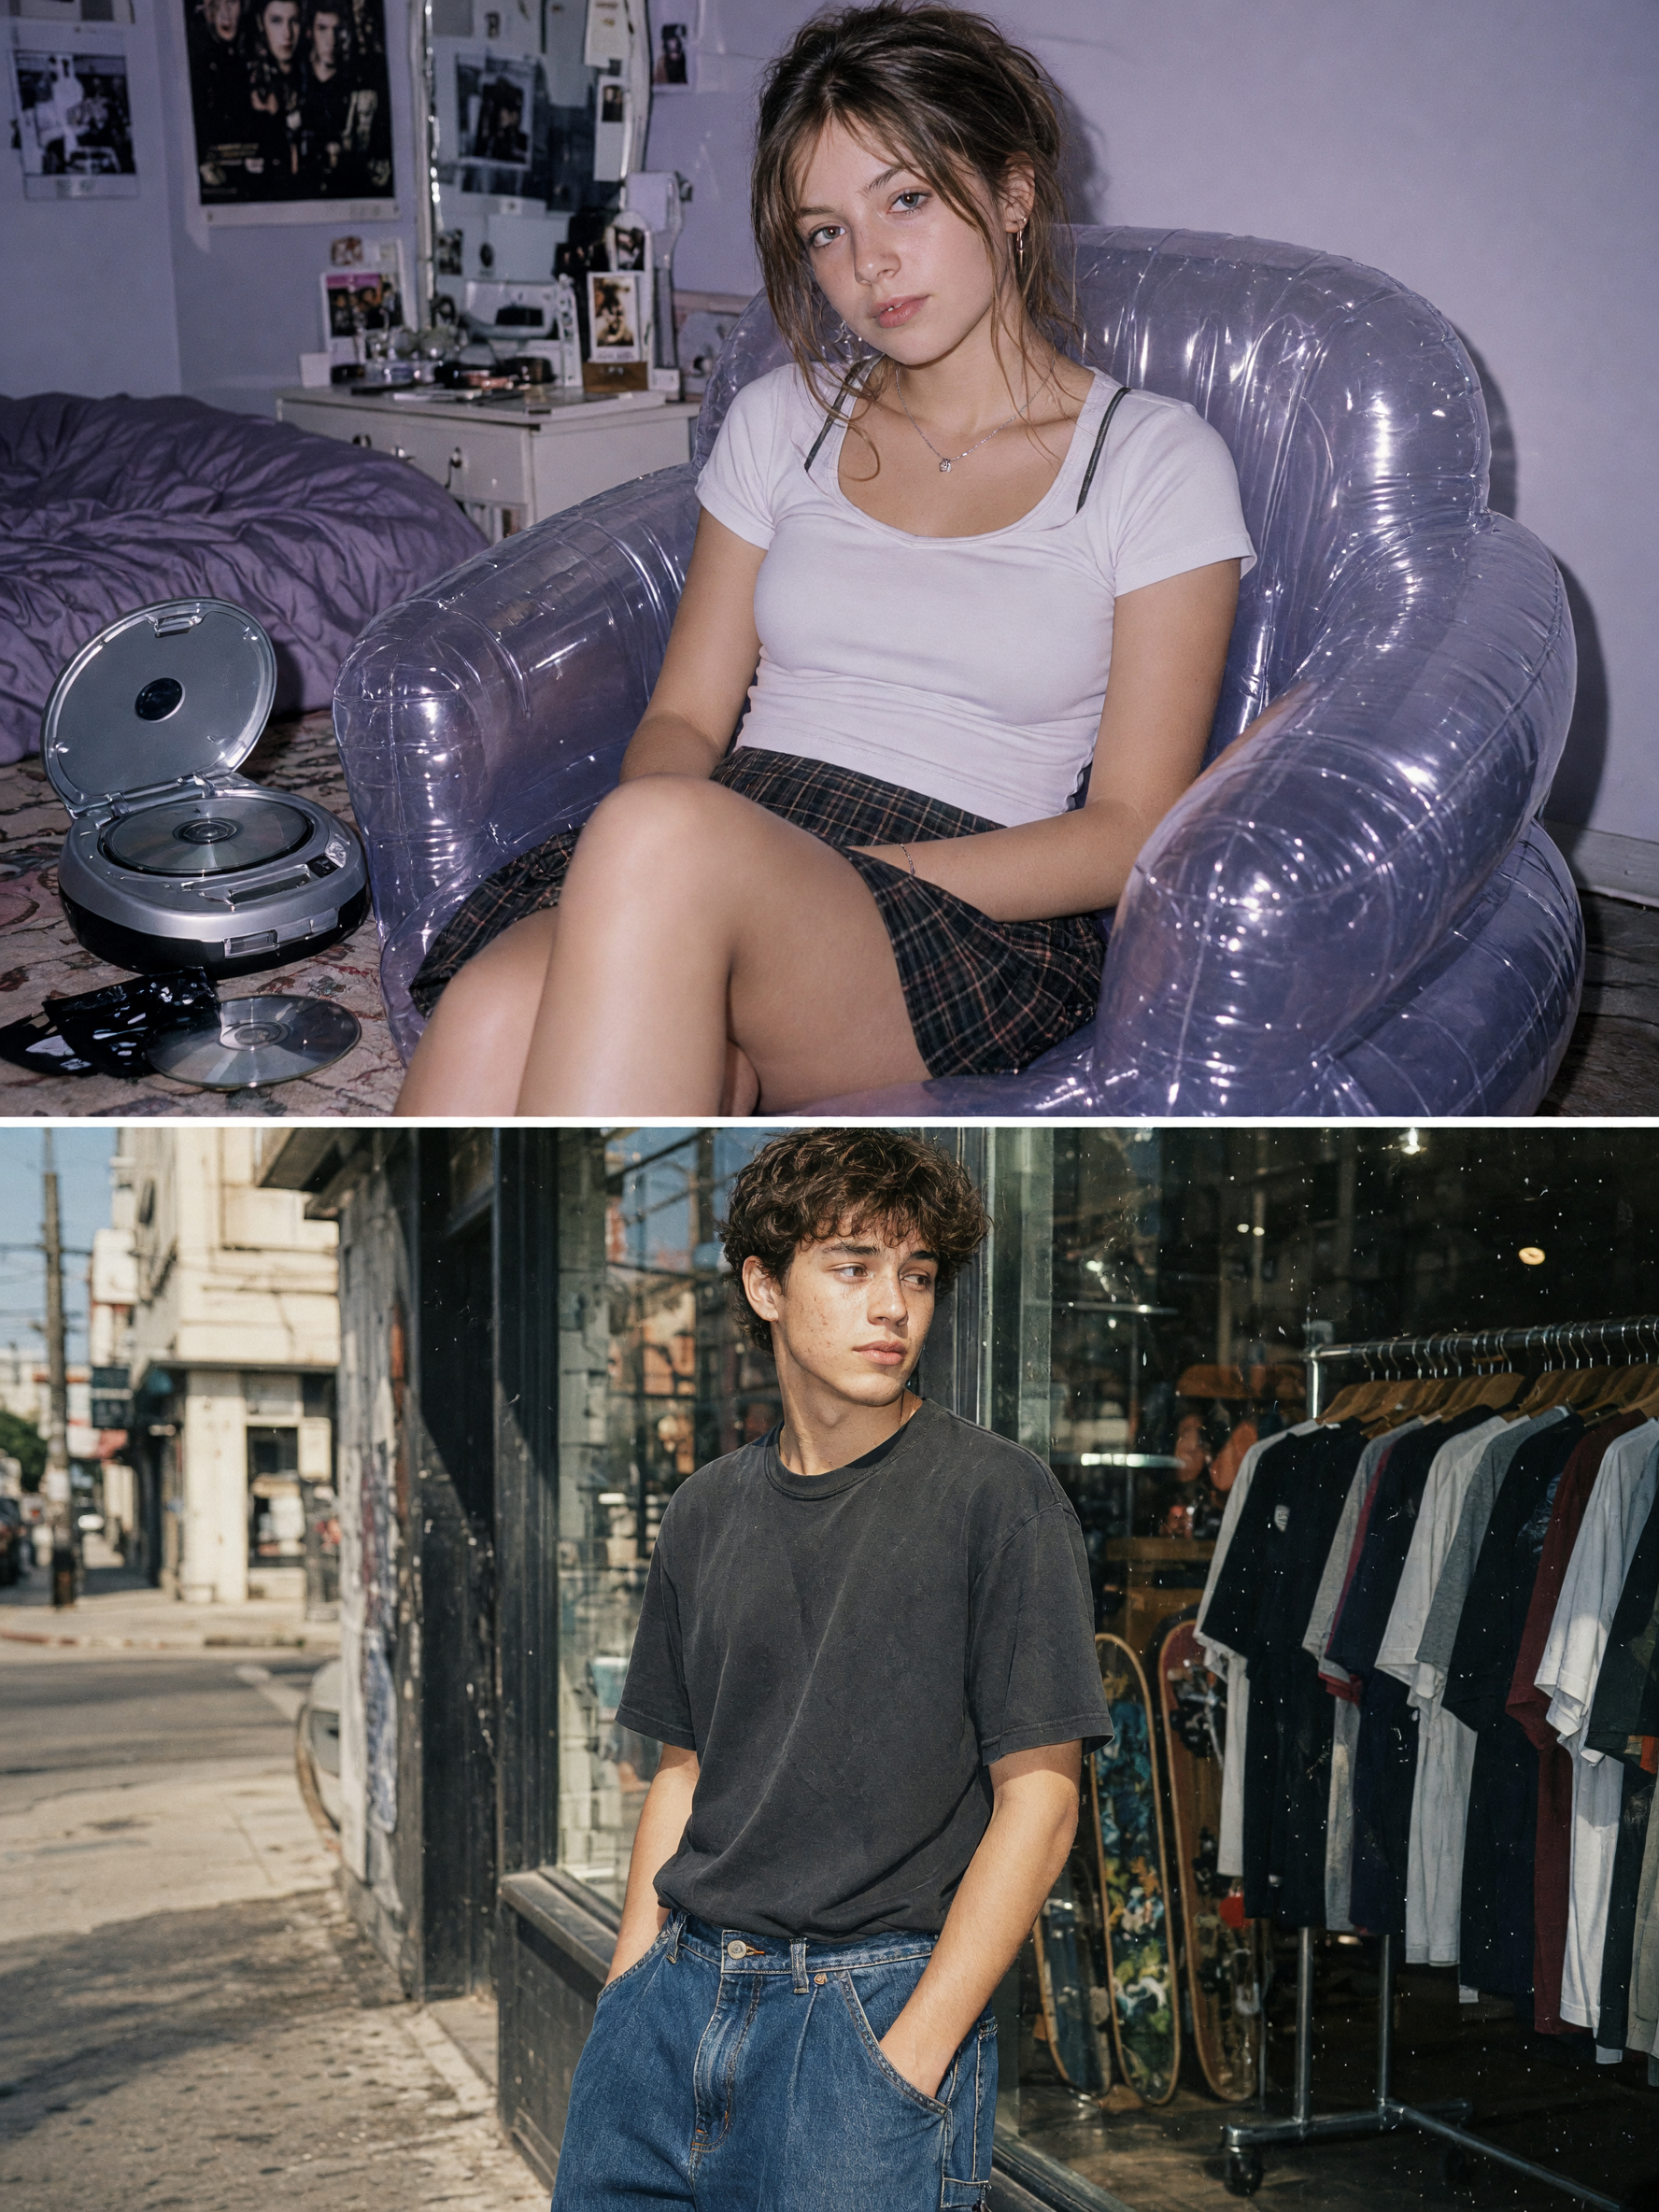
The outdoor version needs movement. It should feel like a friend snapped the photo while everyone was on the way somewhere. Pick one local backdrop with texture: a skate shop, bus stop, corner store, basketball court, brick wall, or parking lot. The location matters more than expensive styling.
How to build the street shot
- Start with a full-body or mid-length photo. A walking pose, leaning pose, or glance away from camera feels right.
- Choose one outfit cue: baggy denim, a baby tee, a windbreaker, chunky sneakers, or a canvas backpack.
- Mix warm late-afternoon light with a touch of direct flash. That odd combination gives the image its cheap-camera charm.
- Ask for sun-faded color, a little motion blur around the edges, and grain that stays subtle on the face.
Try this prompt: Candid street-style portrait outside a small skate shop, baggy denim and striped tee, late-afternoon sun mixed with direct disposable-camera flash, faded film colors, light grain, slight edge blur, 1990s snapshot, vertical photo.
Don’t overfill the prompt with decade labels. Name the place, clothing, light, and camera behavior instead. That gives the edit a believable scene to hold onto. If the first result looks like a fashion campaign, reduce the polish: ask for off-center framing, a background passerby, or a slightly clipped shoe at the bottom edge.
Make the effect feel like a real find
A good 90s photo effect has limits. Keep the palette to two or three main colors. Let the flash create a bright foreground and a darker room or street behind it. Grain should be visible at normal phone size, but it should not swallow the eyes or turn every flat surface into noise.
| Detail | Use it when | Avoid |
|---|---|---|
| Direct flash | The subject needs a candid point-and-shoot feel | Adding a second dramatic light source |
| Faded color | The location already has strong reds, blues, or yellows | Turning skin gray or orange |
| Light grain | The original photo is sharp and clean | Heavy scratches and fake damage on every image |
| Off-center crop | You want a casual carousel opener | Cutting through eyes, hands, or the key outfit detail |
Make two versions before posting. Use the closer bedroom crop as slide one when the face and expression carry the post. Use the street shot first when the outfit or location sets the mood. A simple two-image carousel can pair the finished edit with the original, then use a short caption about the object or place that inspired the scene.
For the image edit itself, a tool that supports precise scene changes and image-to-image work helps keep the person recognizable while changing the setting. Grok Imagine Image V2 supports both new images and edits, including portrait-friendly framing options. Keep changes focused: update the light, props, wardrobe cues, and background before trying to change everything at once.
One last check: view the final image at thumbnail size. If the flash, color, and setting still read in a split second, it will hold up in a fast feed. If it only works when someone zooms in, simplify the scene and make the light more obvious.
Try this effect in Bloom AI
Recreate these looks on your own photos and videos – free to start.