
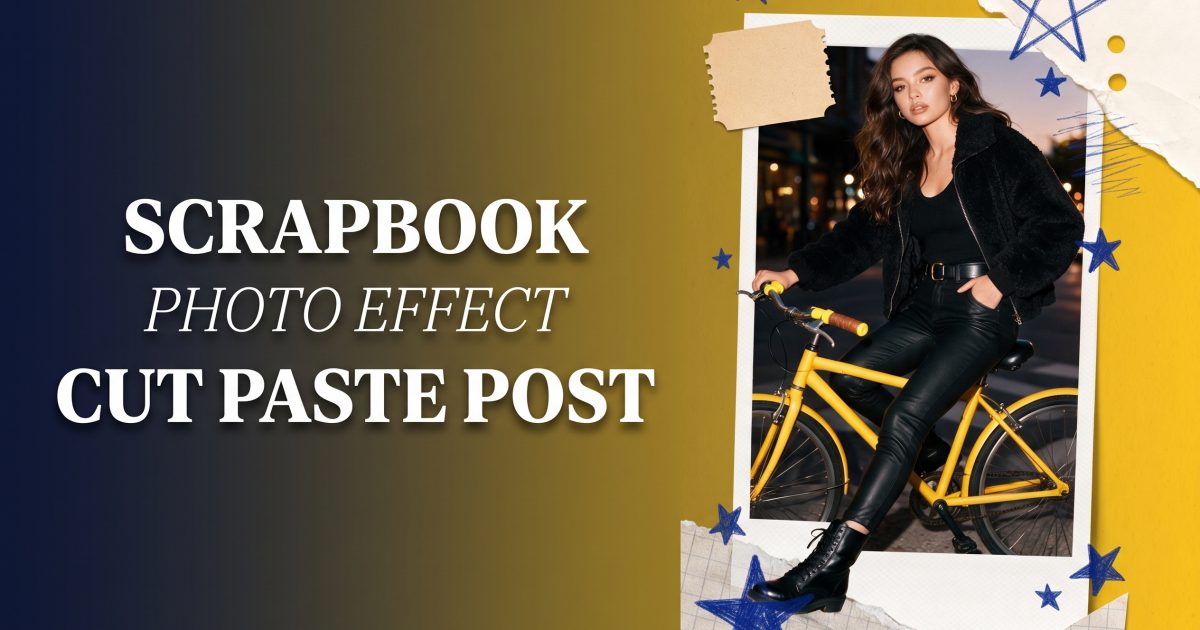
The scrapbook photo effect turns a fresh image into something that feels collected over time. Torn paper, taped snapshots, doodles, ticket stubs, and faded textures give a simple photo the charm of a page made by hand. It works because the subject still feels real. The collage only adds a story around them.
Start with one clear photo and one clear mood. A bright bike ride can lean sunny and playful. A late-night diner photo can feel messy and warm. The best pages use fewer materials than expected, then repeat those choices with purpose.
Why the scrapbook photo effect is landing now
Feeds are full of clean, polished edits. This look goes the other way. It leaves room for crooked tape, rough scissors, and small marks that feel chosen instead of perfect. That makes a carousel feel more like a memory board than an ad.
Use it for a weekend recap, birthday dump, concert post, room makeover, travel diary, or a before-and-after reveal. Keep the visual hierarchy simple: face or main object first, supporting scraps second, tiny decoration last. If every piece fights for attention, the page loses its point.
1. The bike-day collage
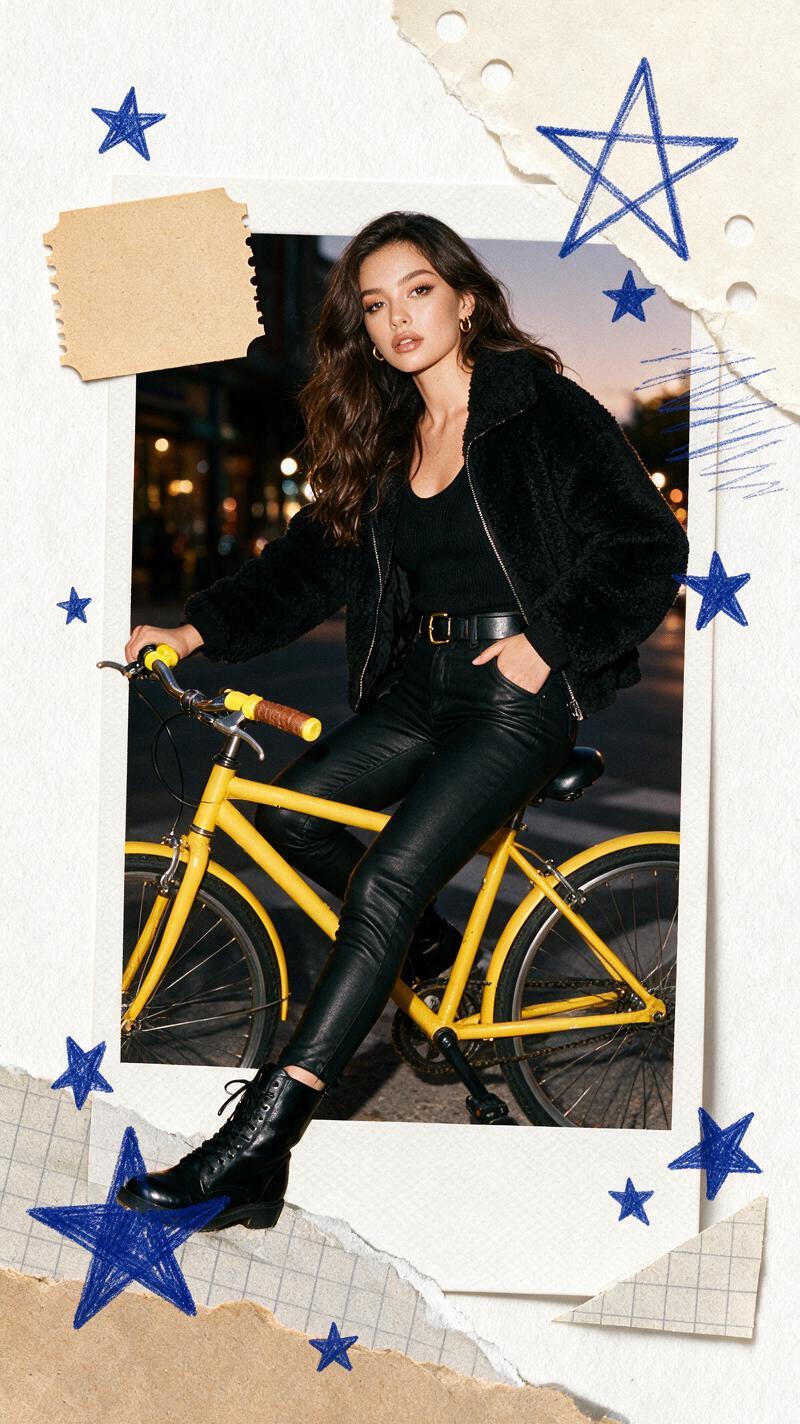
Pick one bold object and give it space. Here, the bicycle carries the frame, so the torn paper sits behind the wheels and the small doodles stay near empty corners. Crop the image slightly off-center. That uneven crop makes the page feel found rather than formally composed.
Prompt to try: “Candid photo of a person riding a bright yellow bicycle on a sunny neighborhood street, arranged on a handmade scrapbook page with torn cream paper, faded blue paper scraps, two pieces of translucent tape, tiny marker stars, warm film grain, clear face, natural hands, no text.”
Styling tip: Choose two paper colors that already appear in the photo. Yellow and pale blue echo this scene without turning it into a rainbow. Add one texture, such as notebook paper or a scanned receipt, then stop. This setup suits a Sunday photo dump, a cycling recap, or a casual brand story.
2. Diner snapshots with friends
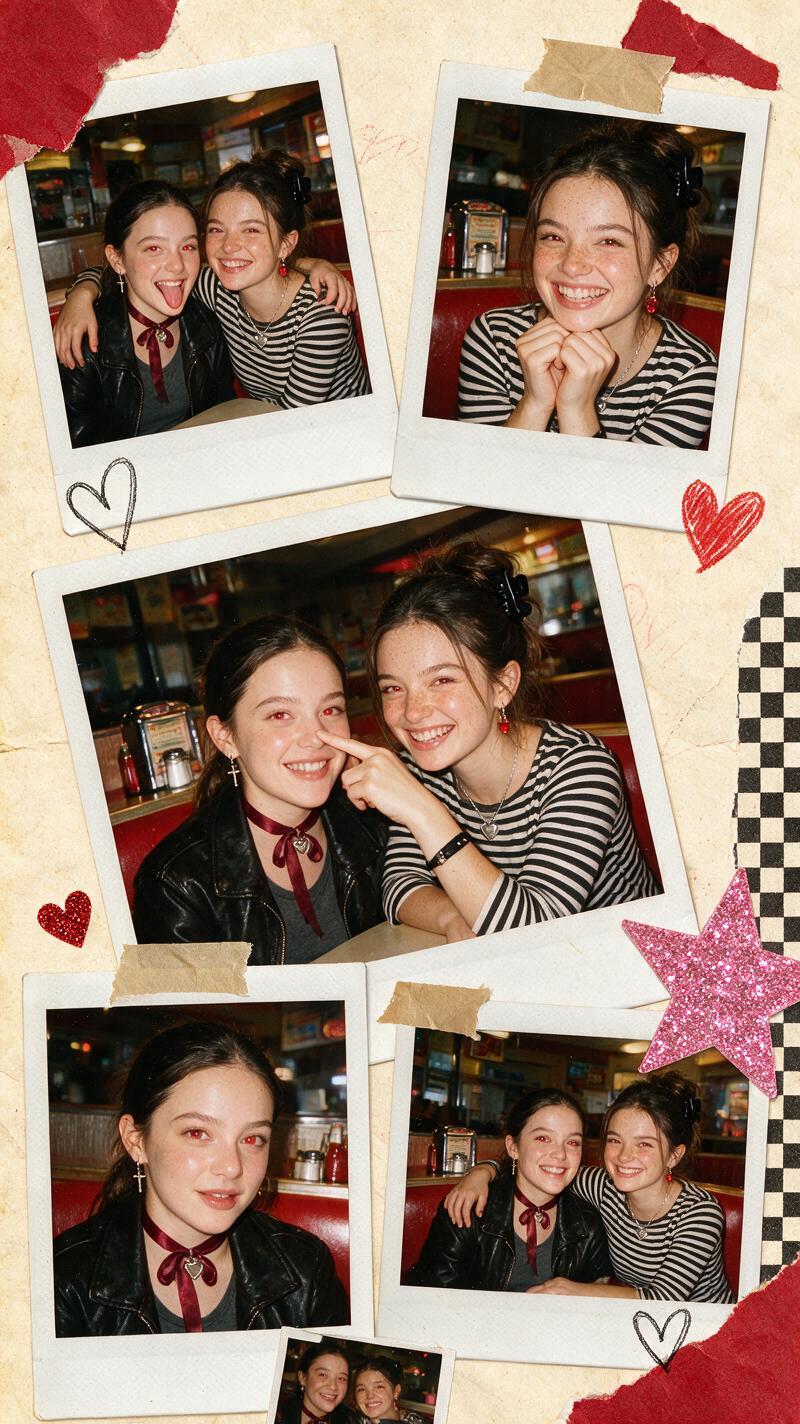
Group photos can handle more layers because there is already more to look at. Start with a wide shot, then add one or two smaller snapshot frames that show food, hands, or a funny detail. Do not cover eyes or mouths. The people should remain the memory, not the decoration.
Prompt to try: “Three friends laughing in a retro diner booth at night, digital scrapbook photo effect, one large candid photo with two smaller instant-photo snapshots, red checkered paper, handwritten heart doodles, tape corners, soft flash, slight film grain, readable faces, no words.”
Production tip: Match the flash and color temperature across every frame. A warm diner scene needs warm cream paper and muted reds. Cold white paper can make it feel pasted together. This version works well for friendship carousels, birthday posts, reunion videos, and restaurant memories.
3. Bedroom-studio cut and paste
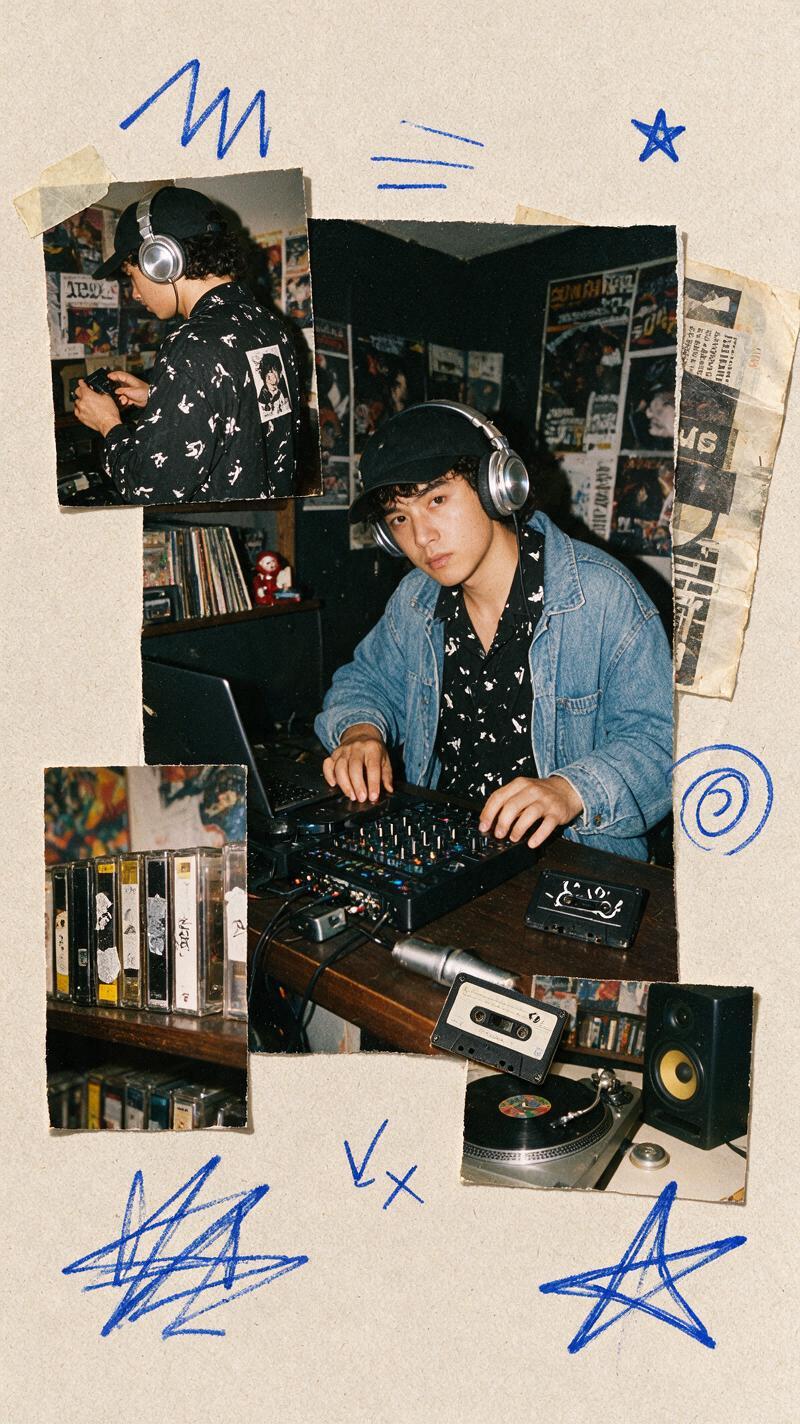
Music photos need materials that belong to the scene. A cassette fragment, concert ticket shape, lyric-free scribble, or old magazine color block can suggest sound without turning the image into a poster. Keep the subject’s hands visible if they are holding headphones, a guitar, or a controller.
Prompt to try: “Moody bedroom DJ setup with a young creator at a turntable, scrapbook collage aesthetic, ripped music-magazine paper, a small cassette tape cutout, black marker arrows, charcoal and electric blue palette, grainy direct flash, clear equipment and hands, no lettering.”
Styling tip: Give the page one hard edge and one soft edge. A rectangular magazine scrap beside a ripped paper shadow creates contrast. Save this look for a playlist cover, practice-room update, artist announcement, or a short video thumbnail. For video, reveal each paper piece on the beat instead of dropping everything in at once.
4. Make movement part of the page
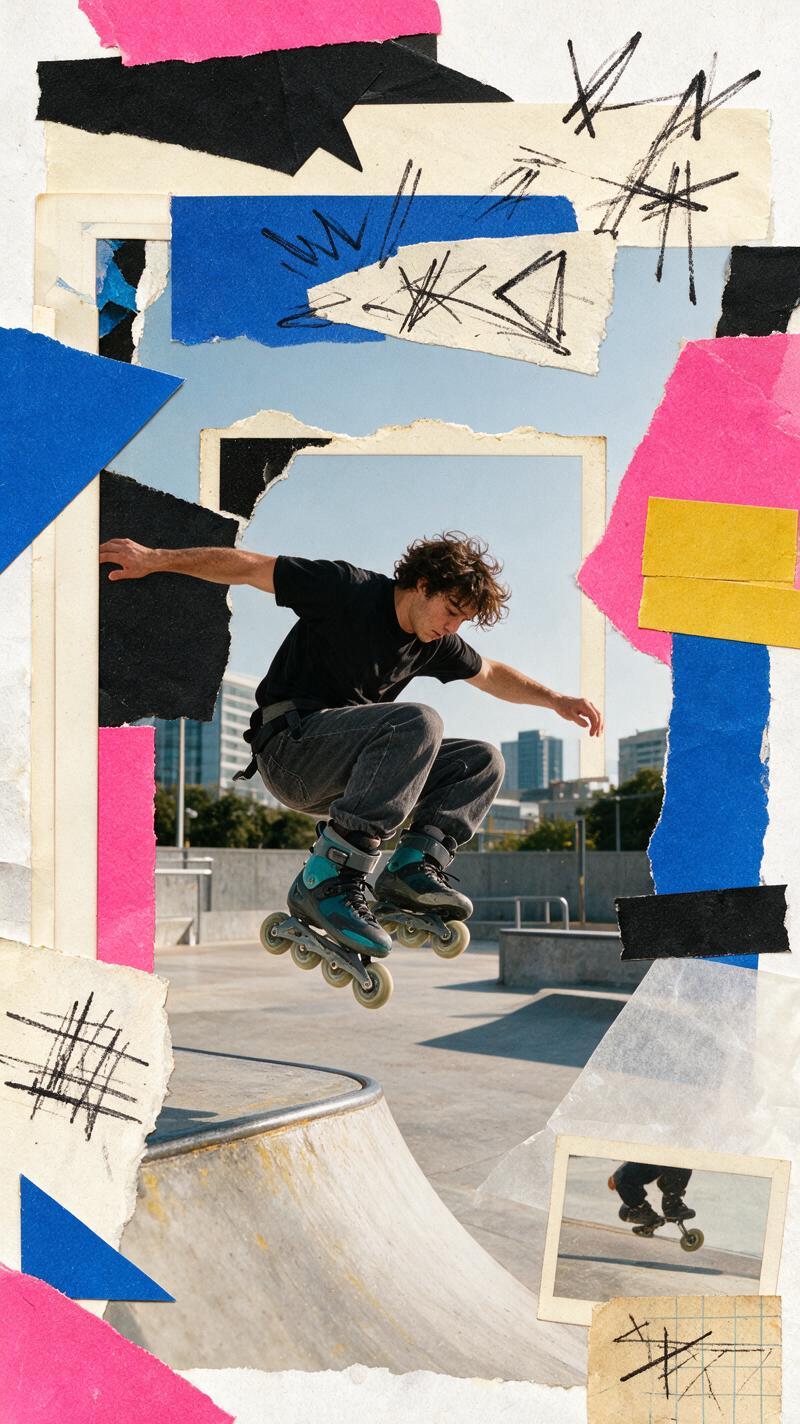
Action shots are the difficult version because clutter can make a moving body look broken. Leave a clean path around hands, feet, wheels, and hair. Put the paper at the outer edge of the motion, then use a hand-drawn arrow to point through the frame. That small directional cue makes the design feel faster.
Prompt to try: “Roller skater captured mid-turn in a city plaza, handmade scrapbook photo effect, torn lilac paper around the outer border, one curved marker arrow following the skate path, small sticker stars, direct flash, motion preserved, full body and skates visible, no text.”
Production tip: Pick a frame with a readable silhouette. A leap, spin, kick, skateboard trick, or dance move works better than a crowded action photo. Make a three-slide carousel from the same scene: wide motion shot first, close-up detail second, finished collage last. It gives viewers a reason to swipe.
How to get the scrapbook photo effect
- Choose one candid, well-lit photo. Clean backgrounds help, but a little real-life mess adds character.
- Write a short visual brief before editing. Name the mood, two colors, two materials, and the object that must stay clear.
- Build the main photo first. Add a rough paper edge or instant-photo border, but keep the face and key object unobstructed.
- Add two or three tactile details: tape, torn paper, a ticket shape, fabric, or marker doodles. Repeating one material makes the page feel intentional.
- Check scale. Small decorations should stay small. Oversized stickers can flatten the whole image.
- For video, animate the layers in sequence. Let the base clip appear first, then slide tape and scraps into place over one or two seconds.
A reference-guided image editor can help test a precise texture-led brief while keeping the original subject recognizable. Seedream V5 Pro supports reference images and structured edits, which is useful when the collage needs to follow a specific photo rather than invent a new person.
For another save-worthy look, browse these trending effects. The strongest scrapbook pages look personal because they make a few decisions well, not because they add every available sticker.
Try this effect in Bloom AI
Recreate these looks on your own photos and videos – free to start.
For help describing the subject, style, and lighting, see Adobe Firefly’s prompt-writing guide.





1 Comment